Cleaning Steps and Tips for Dog Grooming Shears
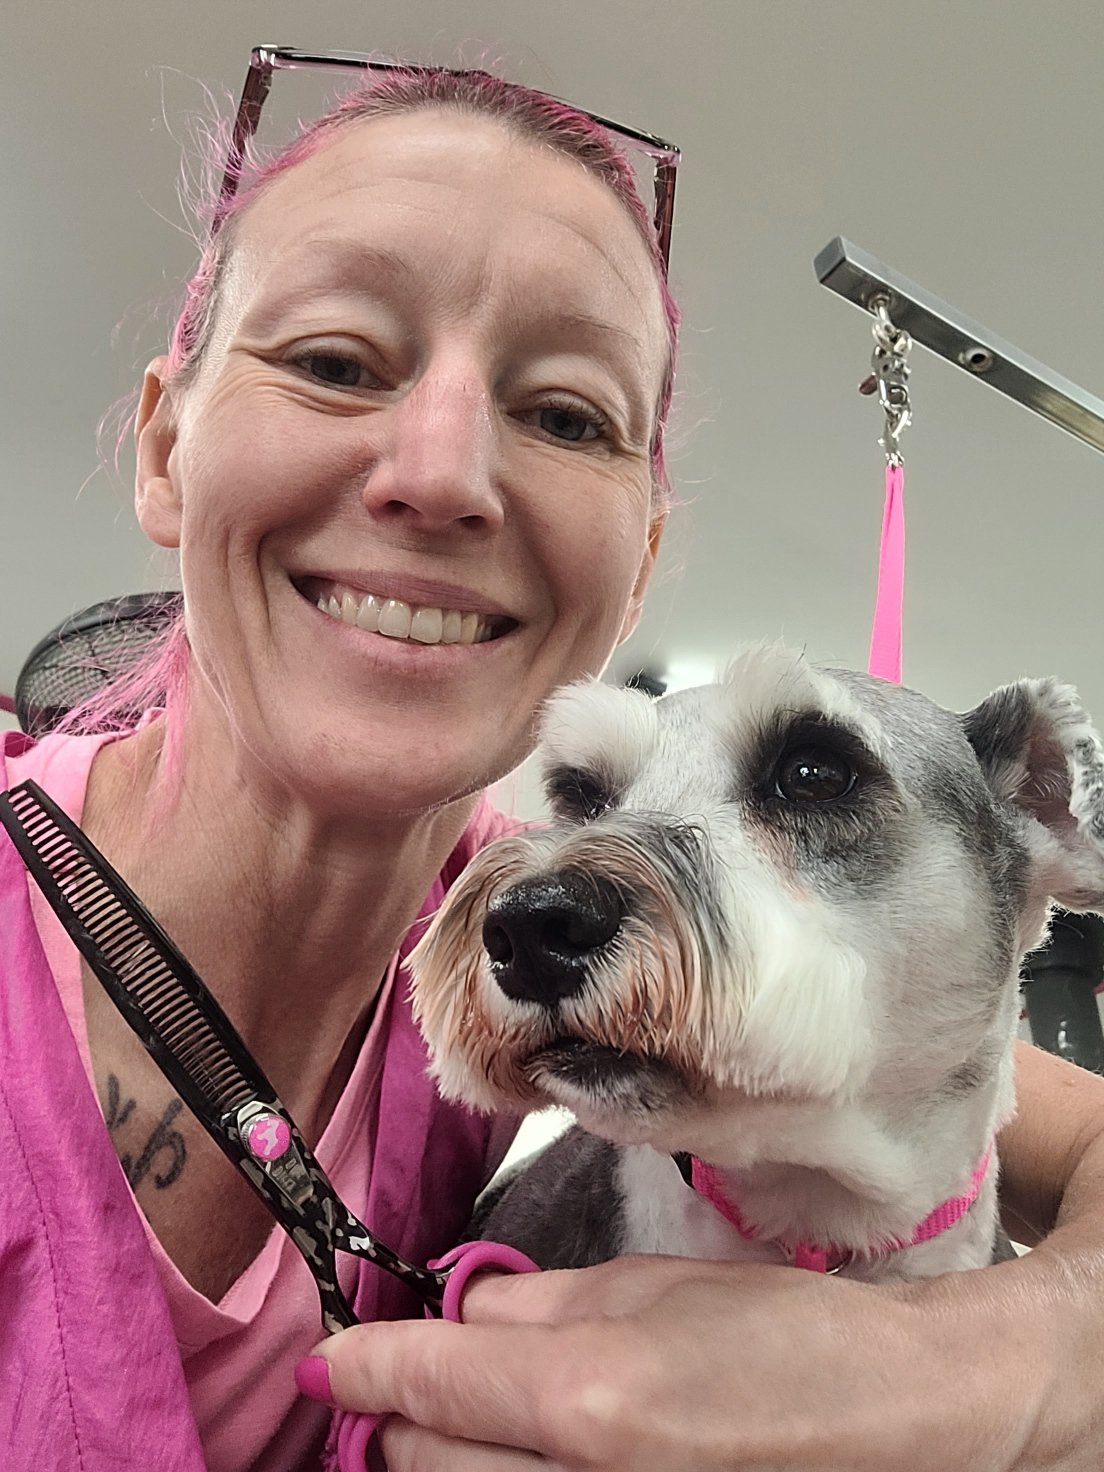
/There are a few common needs among those who cut any type of hair on a regular basis, and cleaning of the shears used for this purpose is absolutely among them. One group for whom the needs in this area will differ significantly from others: Dog groomers and and other individuals who regularly utilize dog grooming shears on pets.
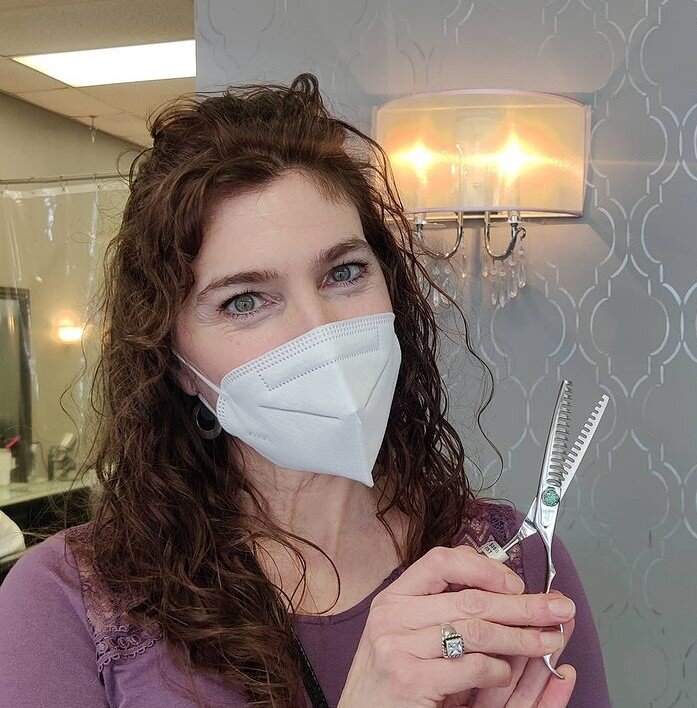
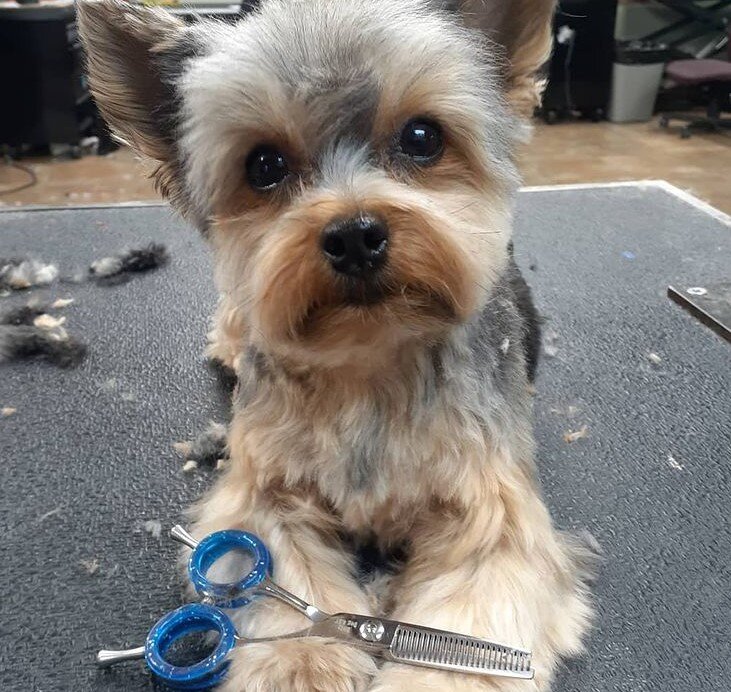
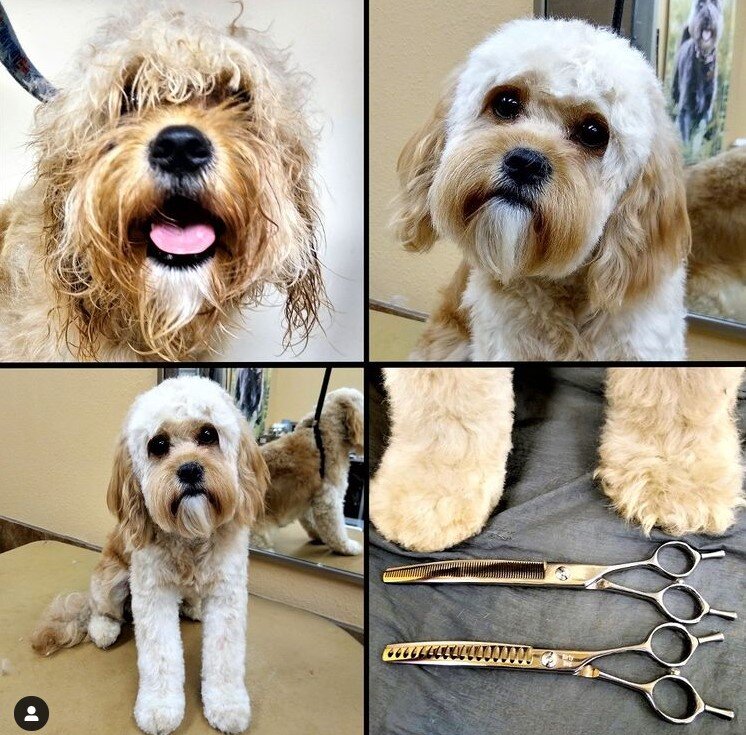
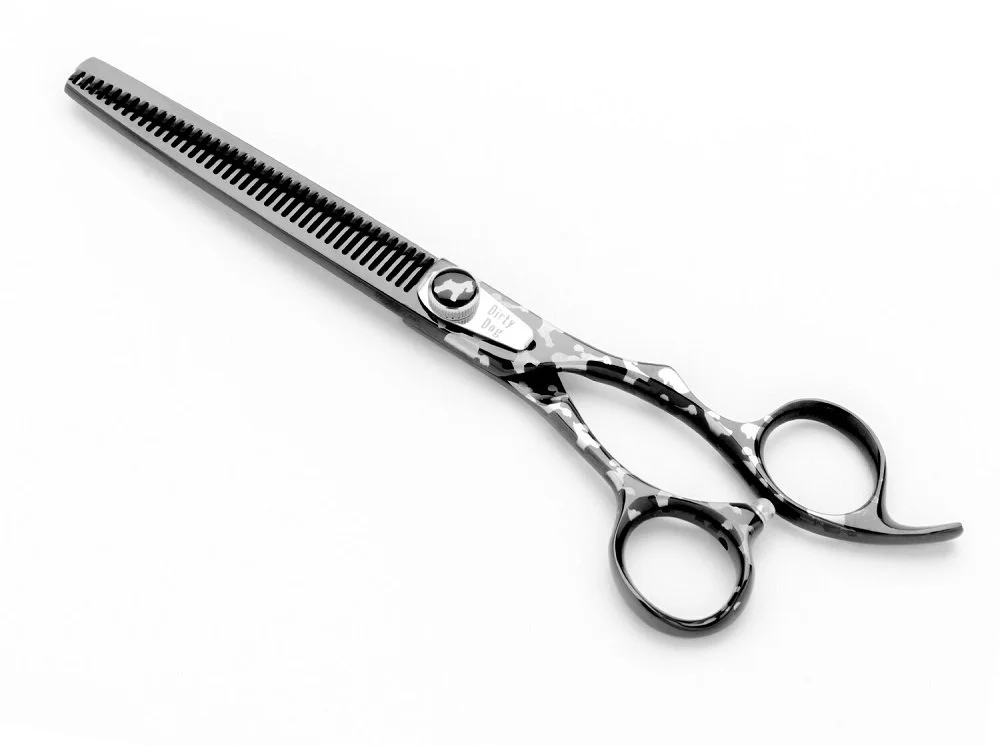
At Scissor Mall, we're happy to offer the very best selection of dog grooming shears on the market, including many Dirty Dog products like black thinners, curve thinners, teeth chunkers and many more. We're also happy to offer tips on how to care for any shears you purchase from us, particularly for dog grooming shears that require some special forms of cleaning and basic upkeep. Here's a rundown of why cleaning your dog grooming shears is important and how often it should be done, plus some steps and tips for doing so.
Why Cleaning Dog Grooming Shears Matters
Firstly, let's dive into why cleaning your dog grooming shears is important. Every time you use them, your shears are going to come into contact with hair, skin and sometimes even dirt, all of which can lead to the formation of buildup on the blades. This not only makes your shears less effective, but it can also cause irritation for both you and the animal you're grooming.
In short: Cleaning your dog grooming shears is vital to maintaining both their quality and your own comfort level while using them. This is doubly true if you're sharing your shears with other groomers, as any buildup on the blades can be transferred from one person to another.
How Often to Clean Dog Grooming Shears
So how often should you clean your dog grooming shears? The answer may vary depending on who you ask, but we generally recommend doing it after every single use. This ensures that any buildup is removed before it has a chance to set in, and it also helps to keep your shears looking and performing their best with each passing grooming session.
Of course, if you're using your shears on multiple dogs in quick succession, you may not have time to clean them between each animal. In cases like this, it's still important to clean them as soon as you're finished grooming for the day. Allowing the buildup to sit on the blades overnight is only going to make it harder to remove later on.
For many groomers, however, something of a middle ground develops here. In between individual animals, limited cleaning methods can be applied -- things like wiping down the blades with a clean cloth, for example. Then, at the end of the day, a more thorough cleaning can be performed to ensure that every last bit of buildup is removed.
In our next few sections, we'll go over some simple steps and tips for a more involved cleaning of your dog grooming shears, the type you can usually perform once or just a few times per day to ensure your shears stay in great shape long-term.
Wipe-Down and Disinfecting
The first step here, and one that as we mentioned above will often be performed in a standalone way in between individual cuts or sessions, is to wipe down the blades of your shears with a clean, dry cloth. This helps to remove any initial buildup and makes the disinfecting process that comes next much more effective.
Once you've wiped down the blades, it's time to disinfect them using either alcohol or diluted bleach. The exact ratio here will depend on which cleaning agent you're using, so make sure to consult a reputable source for guidance. For alcohol, a 1:1 ratio of water to rubbing alcohol is usually sufficient.
After applying your disinfectant of choice, be sure to rinse the blades off completely with water before moving on to the next step in the cleaning process.
Removing Hair From Tension Screw
As you're going about your grooming, it's not uncommon for small pieces of hair to become lodged in the tension screw that holds your shears together. If this happens, it can make it difficult or even impossible to adjust the tension on your shears, so it's important to remove any hair that manages to get in there as soon as possible.
The best way to do this is with a small, soft-bristled brush -- something like an old toothbrush will usually do the trick. Gently insert the brush into the tension screw area and then twist it back and forth until all of the hair has been removed.
Once you're finished, be sure to rinse off the bristles of the brush before using it again to avoid contaminating your shears with water or other materials.
Lubricating Blades
Once the blades of your shears have been wiped down, disinfected, and rinsed off, it's time to lubricate them using either oil or silicone. This helps to keep the blades in good condition and prevent them from rusting or becoming damaged over time.
The type of lubricant you use is really up to you, but many groomers prefer oil because it's less likely to attract dirt and other materials than silicone. If you do choose to use oil, make sure it's a light variety like mineral oil or tea tree oil.
To apply the lubricant, simply place a few drops on a clean cloth and then wipe it down the length of the blades. Once you're finished, be sure to wipe off any excess lubricant with a second clean cloth to avoid contaminating your shears.
Storing Your Shears
Once you've finished cleaning and lubricating your shears, it's important to store them in a safe place where they won't become damaged or contaminated. The best way to do this is to invest in a shear case or sheath that will protect the blades and keep them clean when not in use.
If you don't have a sheath or case, you can also wrap your shears in a clean cloth before storing them. Just be sure to choose a light-colored cloth so that you can easily spot any dirt or debris that might become lodged in the fabric.
For more on cleaning dog grooming shears, or to learn about any of our other grooming shears or hair cutting shears, speak to our team at Scissor Mall today.